Section-01: Start Up:
Lecture-01: Welcome to My Course:
Dear Students,
Welcome to Instructor SR World.
Do you want to be a web designer and want to make awesome website ?
You are in right place. Here you can learn web design step by step by easy and interesting methods.
So stay with me and follow my tutorials to make awesome website and to be a professional web designer.
Thank you.
Lecture-02: Websites Layout Introduction:
Hello Students,
In this class-02 you will learn about websites layout.
You essentially need to know that all of the websites have a common layout or structure. That is:
=>Header-area
=>Navigation or Menu Area
=>Slider or Banner Area
=>Main Content Area
=>Sidebar Area &
=>Footer area
When you will design a website you have to follow the layout right always.
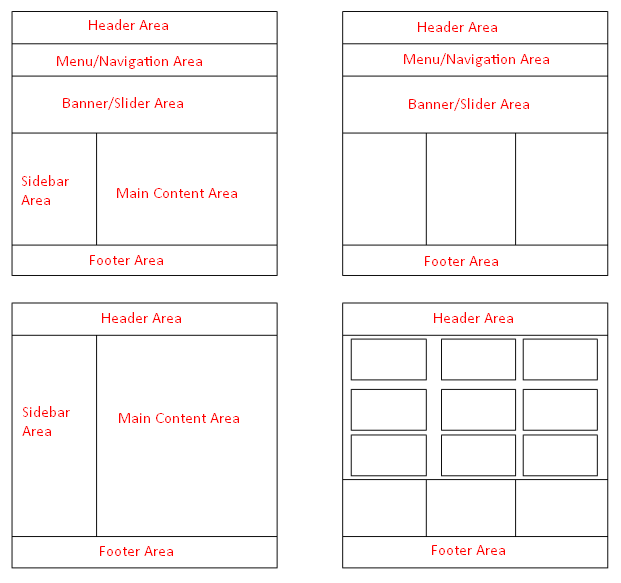
Fig-01: Website Layout
Section-02: Getting Started: Basic HTML
Lecture-03: Required Software:
Just you need one code editor software for starting html.
Some popular code editor software’s :
Notepad++ code editor
Sublime Text code editor
Brackets code editor
Visual Studio code editor
PhpStorm code editor
Atom code editor
But for the beginner Notepad++ is the best code editor because you have write all of the code by own. On the other hand if you use advanced level code editor like sublime text, brackets, visual studio, PhpStorm or atom it will generate code automatically. You need to use these types advanced code editor when you will work as a professional web designer for working fast.
But generally Notepad ++ do not generate code automatically. For learning code you need to write all code by your own.
For starting HTML you need download the node pad ++ software and then installed it….
Download link: Download Notepad++ Click Here
Lecture-04: HTML Structure: How to Start Easily:
HTML has a very simple structure. We can part it into two: HTML head and body.
<html>
<head>
<title>This is title</title>
</head>
<body>
All of your website contents goes here by using html syntax……..
</body>
</html>
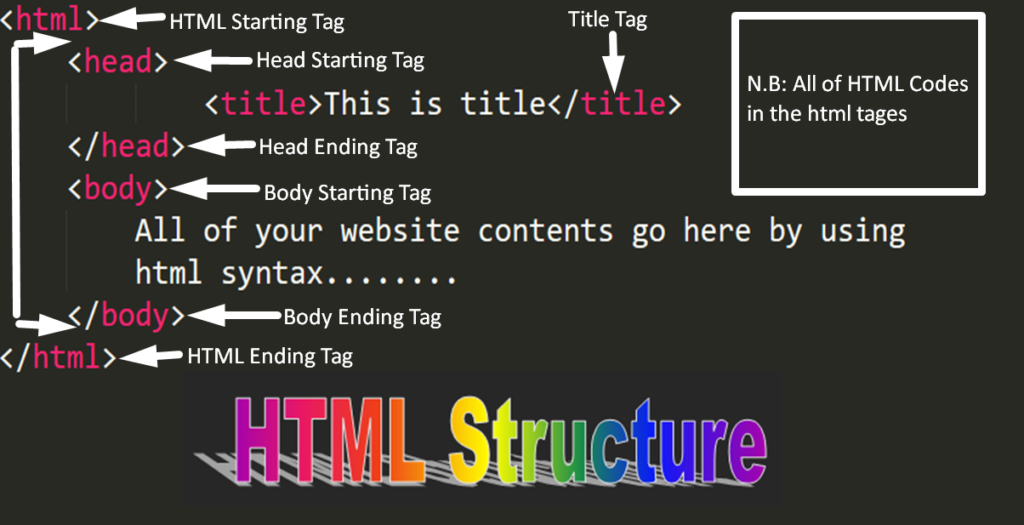
Fig-01: HTML Structure
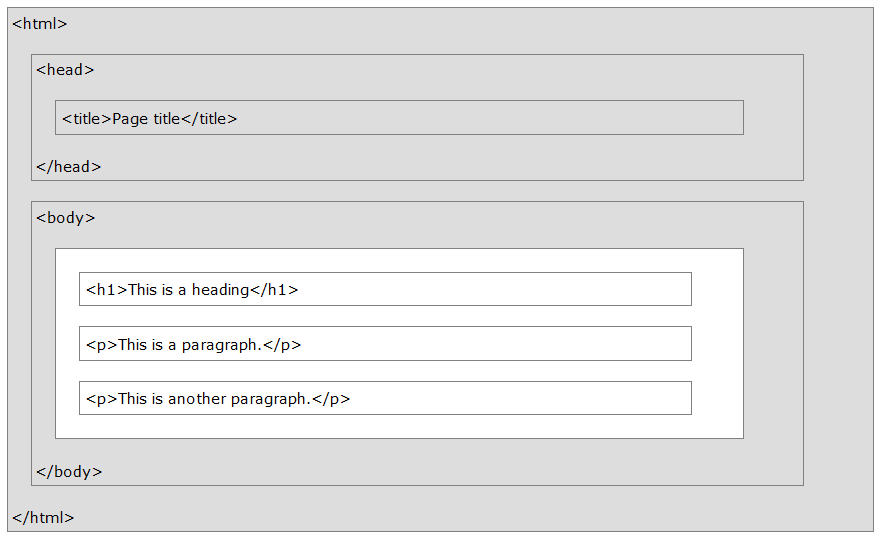
Fig-02: HTML Structure with some tags uses
Lecture-05: HTML Heading Tags:
HTML Heading tags are used for showing titles or sub-titles that we want to display in our web pages. HTML Heading tags are 6 kinds:
Heading content inside here…….
Heading content inside here…….
Heading content inside here…….
Heading content inside here…….
Heading content inside here…….
Heading content inside here…….
Just write the code in text editor inside html body and show the difference of the heading tags. h1 heading tag is so larger and sequentially smaller from h5 to h6. See the picture right.
Fig-01: Heading 6 tags in code editor with content
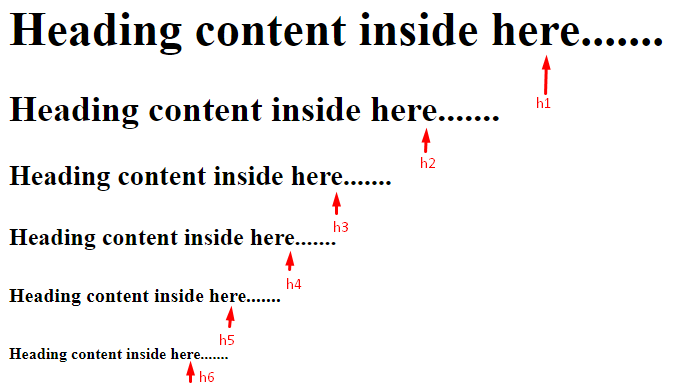
Fig-02: Heading tags display content size in the browser
Lecture-06: HTML Paragraph Tag:
HTML paragraph tag is used for adding paragraph in web pages. Paragraph tag is defined in letter ‘p’. The tag is written in this way: “<p>contents</p>”. Paragraph tag always start a new line with the automatically space before and after the tag. Do it practically and see the code and preview of the right side.
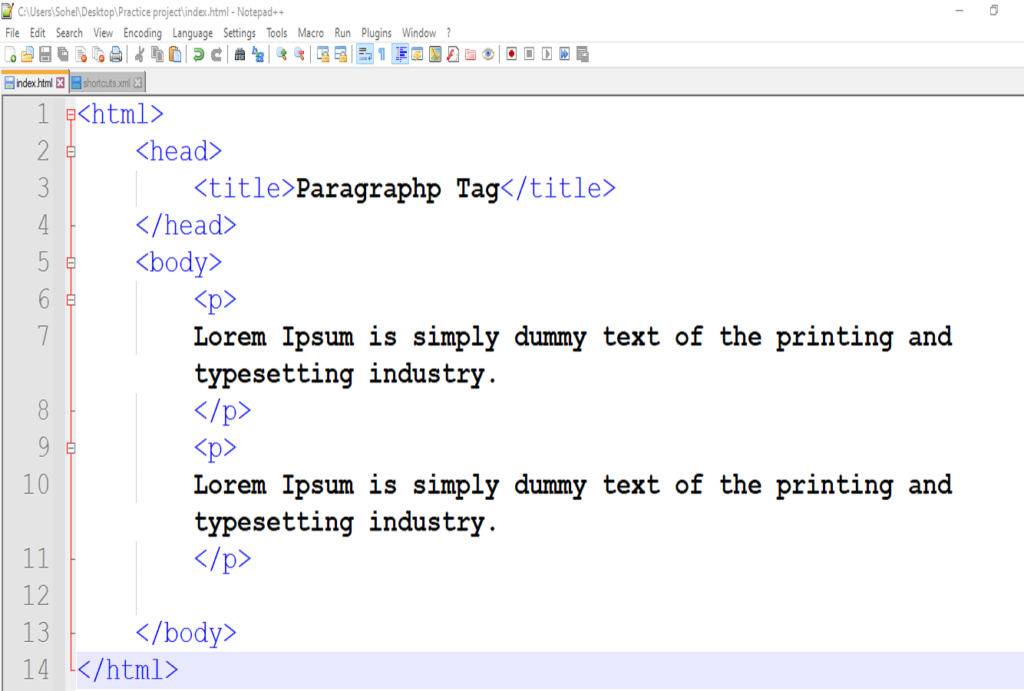
Fig.1 Paragraph Tag Syntax
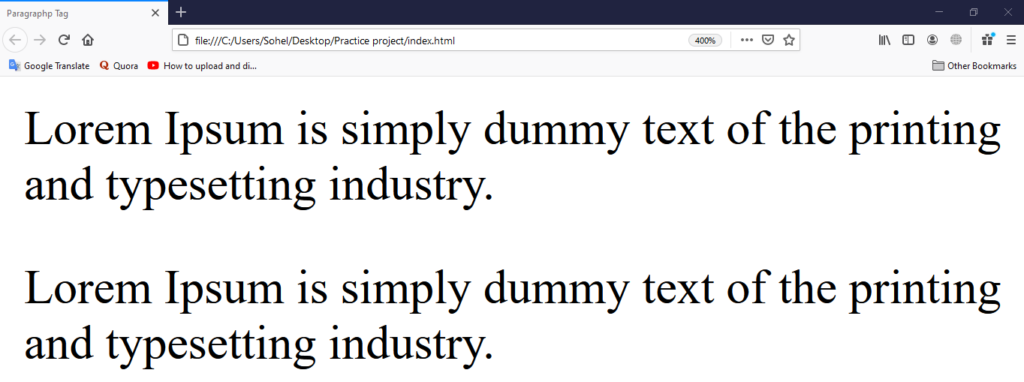
Fig>2. Paragraph Tag Content Browser View
Lecture-07: HTML Link Tag:
HTML link tag is used for adding hyperlink to => Text => Images or bookmarks. Every webpage has a lot of links. It is used by users for moving page to page. When mouse over any link it will turn into a small hand.
HTML Link Syntax
The link tag is defined as <a href=””>links object</a>
here href is a attribute which refer the location of the link or the address of the link. Example <a href=”https://www.facebook.com/”>Facebook</a> . Link shows the following color like unvisited link blue, visited link purple and active link red.
Link Attribute
Link one attribute is ‘href’ and another is ‘target’. Syntax of using target attribute is: <a href=”https://www.facebook.com/” target=”_blank”>Facebook</a> When click on the link to use this target attribute it will open in another tab.
Link tag uses examples:
Image as Link :
<a href=”https://www.example.com/” target=”_blank”><img src=”image.png” alt=”image” /></a>
Email as Link :
<a href=”mailto: someone@example.com/” target=”_blank”>Send Email</a>
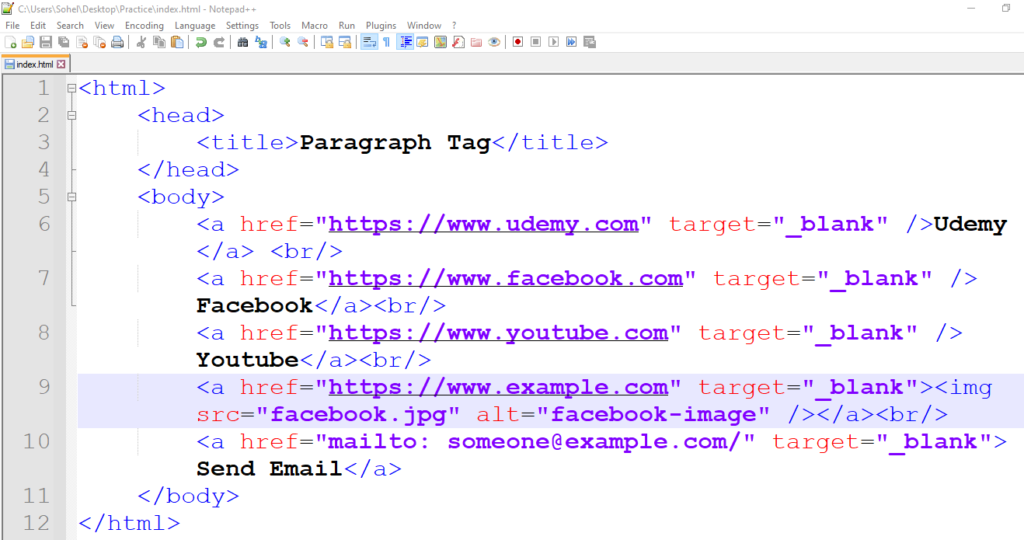
Fig> Link Tag Coding Example
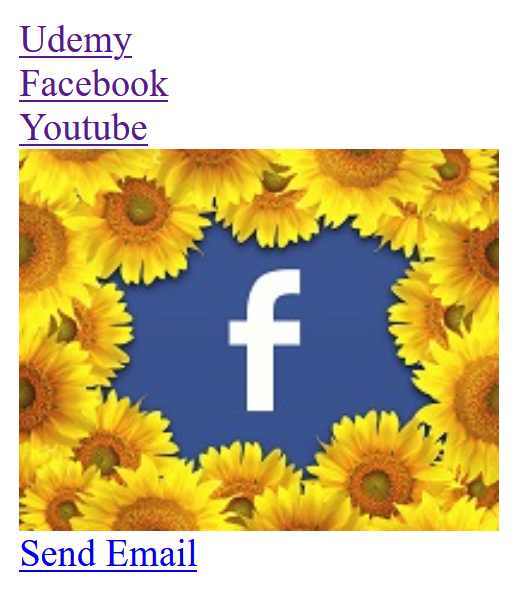
Fig-02. Link Tag Code Preview
Lecture-08: HTML Image Tag:
HTML link tag is used for embedding images in the website. Image is written: <img> . It is an empty tag and it has two attributes ‘src’ and ‘alt’. src refers the source of the image and alt refers a text which will display if the image fail to display.
So the full syntax of an image tag with attribute is: <img src=”image source path or URL ” alt=”alternative text if image not loaded” >
Example: <img src=”flower with butterfly.jpg” alt=”flower image”>

Fig> Example image tag preview in browser.
Lecture-09: HTML List Tags:
HTML list tags are used for creating a list in the webpage orderly or unorderly. If we want to show something in a set of items or a group of items sequentially there we need to use HTML list tags. HTML list tags are mainly two kinds that are:
1. Unorder list: this defines various bullet-type lists.
2. Order list: Its define various type of numbers list type.
HTML list tags syntax: Unorder list:
<ul>
<li>Book</li>
<li>Pen</li>
<li>Pencil</li>
</ul>
See the upper unorder list tags result in browser to the right side image.
HTML list tags syntax: Order list:
<ol>
<li>Book</li>
<li>Pen</li>
<li>Pencil</li>
</ol>
See the upper order list tags result in browser to the right side image.
There have also another list tag name Description List Tags
Description List Tags Syntax:
<dl>
<dt>HTML</dt>
<dd>Hypertext Markup Language</dd>
<dt>CSS</dt>
<dd>Cascading Style Sheets</dd>
</dl>
Here dl means description list and dt means description term and dd describes the term like description data.
See the upper description list tags result in the browser to the right side image.
So dear students do it practically.

Fig>01. Unorder List

Fig>02. Order List

Fig>03. Description List
Lecture-10: HTML Attributes:
HTML attributes is a modifier that add additional information about html elements/tags. Attributes always are used in the starting tag inside. Some tags are compulsory to use the attribute because without it use inside the tag that will not work. Example image tag, link tag here use attribute is compulsory. So lets lean it practically how to use attribute in HTML tags.
href attribute: href attribute use with anchor tag/link tag. <a href=”https://www.facebook.com”>Facebook</a> . In the first tag we need to add space and then add the attribute href with equal and double quotation, inside double quotation we need to add the url or link of the text. In the example I have linked the facebook with the facebook url inside the href attribute and write the Facebook text inside the two text that its.
src attribute: src attribute mainly used inside image tag <img src=”twitter.png” />. Inside src attribute just you need to add the path/source of the image. So it is very powerful for image tag.
lang attribute: lang attribute used inside first html tag for language. Example
<html lang=”en-us”>
</html>
Here first two letters are the language and last two letters is the country code. If we add lang attribute in our html browser automatically know the language of the webpage.
There are many attributes have in html I will discuss it with another lecture another class. Thanks.

